> ## Documentation Index
> Fetch the complete documentation index at: https://magicads.mintlify.site/llms.txt
> Use this file to discover all available pages before exploring further.
# IBM Text to Speech
> Enhance your Davinci AI platform with IBM Watson Text to Speech capabilities. This guide walks you through setting up and leveraging IBM Watson text to speech feature.
This is a free extension available for anyone
IBM Watson extension is part of AI Voiceover feature to convert Text to Speech, it is not a standlone feature
## Introduction
Davinci AI’s IBM Watson TTS integration unlocks advanced text to speech capabilities for your platform. With access to various languages and voices that IBM supports, you can let your users use them at the AI Voiceover service.
## IBM Watson Extension Setup
To be able to use your **IBM Watson** extension with **AI Voiceover** feature, follow these steps to setup your IBM account.
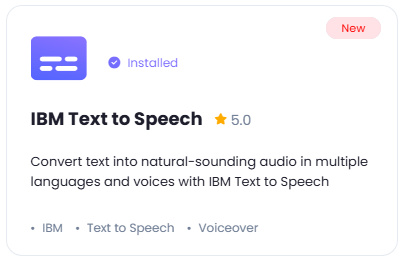
Go to the **Marketplace** in **Admin Panel** and install **IBM Watson** extension.
 After installation is completed, go to **AI Settings** page in Admin Panel and click on **Extensions** tab there. Click on **IBM Watson** there.
 Now, on a different tab in your browser, go to the [IBM Cloud](https://www.ibm.com/cloud/free) homepage and create an acount with them, they will require your personal informaiton and your credit card informaiton upon first registration.
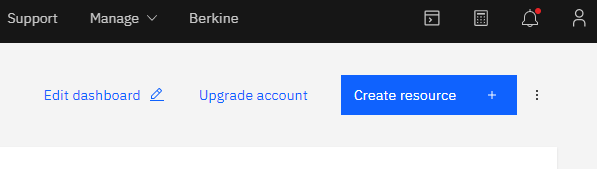
After you have completed the registration and logged in, click on the **Create Resource** button.
Now, on a different tab in your browser, go to the [IBM Cloud](https://www.ibm.com/cloud/free) homepage and create an acount with them, they will require your personal informaiton and your credit card informaiton upon first registration.
After you have completed the registration and logged in, click on the **Create Resource** button.
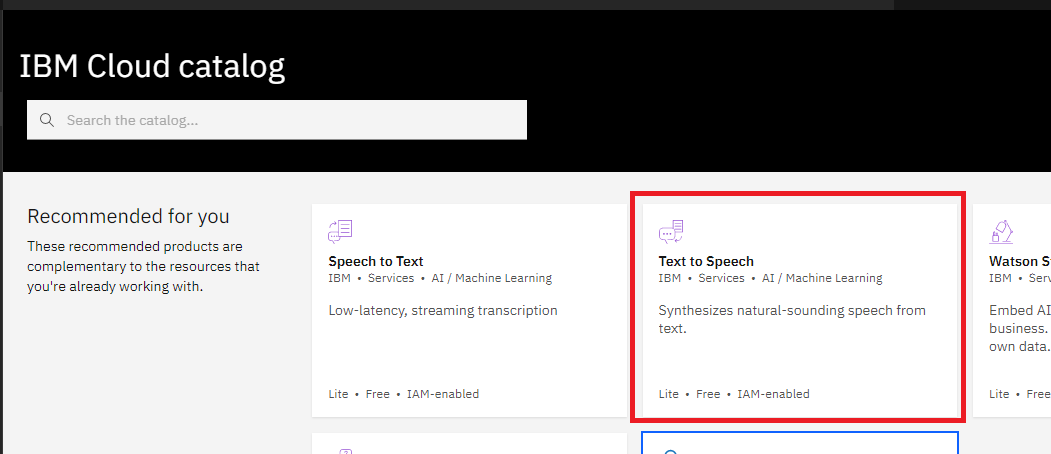
 In the list of catalogs, select **Text to Speech**
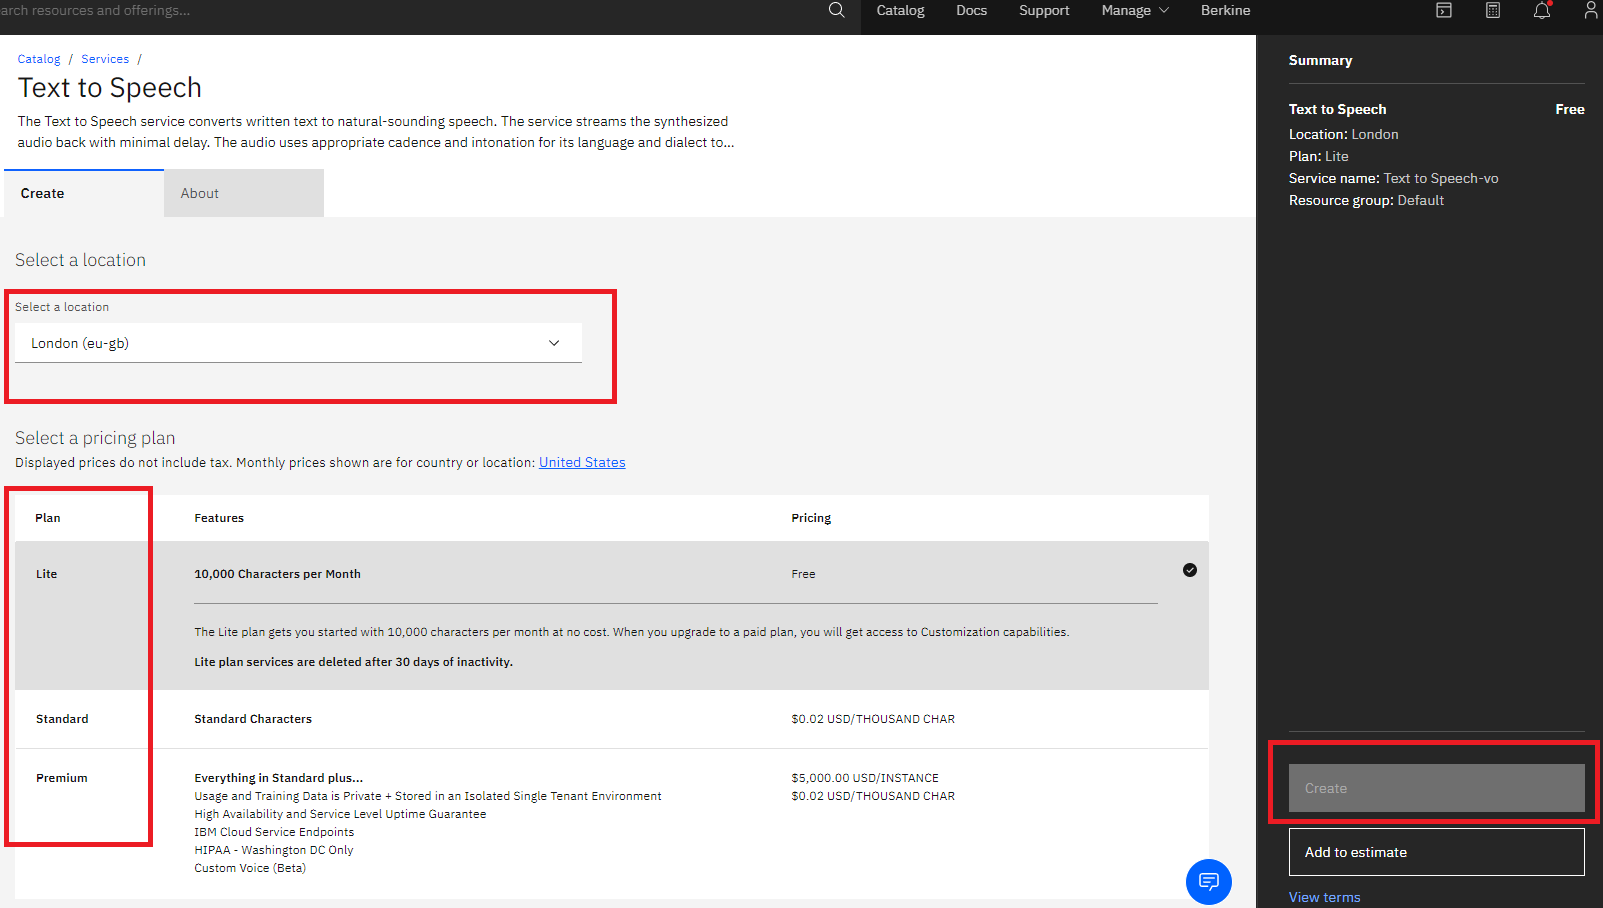
 Next, select preferred IBM region and your desired plan, also resource name and click **Create** button.
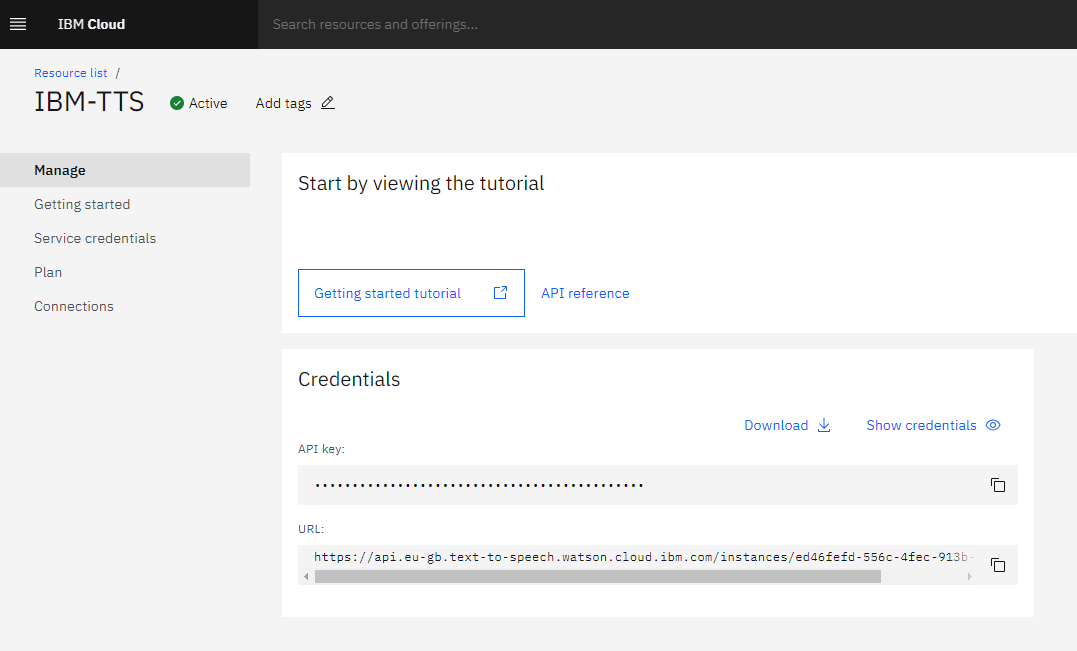
 On the next step, click on your newly created resource name and copy your **API Key** and **URL**.
 Now go back to the **Admin Panel** where you have **IBM Watson** extension settings page opened earlier and enter your **IBM Watson API Key** and **IBM Watson Endpoint URL**. Also make sure that **IBM Watson TTS Feature** checkbox is turned on.
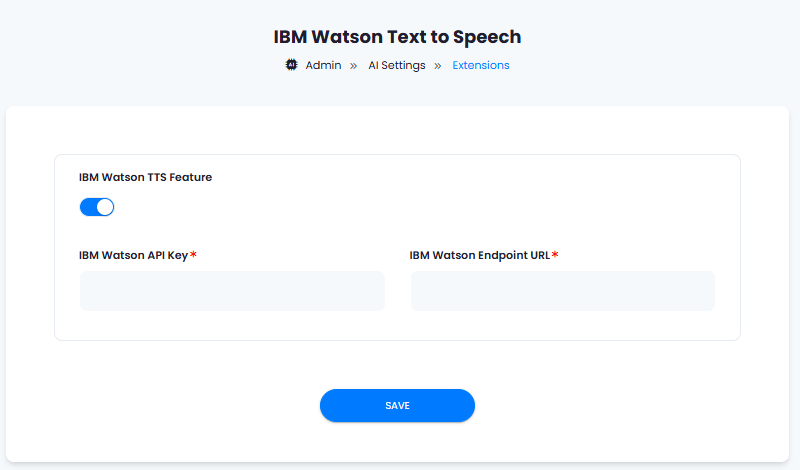 After you are done with all the settings, click on **Save** button.
Now you need to include IBM voices into the list of allowed vendors for both, your free tier users and subscribers. For that, please refer to the detailed [AI Voiceover intructions](/core/voiceover)
Congratulations! You have successfully comleted the setup process of IBM Watson extension.
After you are done with all the settings, click on **Save** button.
Now you need to include IBM voices into the list of allowed vendors for both, your free tier users and subscribers. For that, please refer to the detailed [AI Voiceover intructions](/core/voiceover)
Congratulations! You have successfully comleted the setup process of IBM Watson extension.