> ## Documentation Index
> Fetch the complete documentation index at: https://magicads.mintlify.site/llms.txt
> Use this file to discover all available pages before exploring further.
# Cloudflare R2 Storage Integration
> Offload your media inputs and results to Cloudflare R2 Cloud Storage
## Introduction
Davinci AI’s allows you to integrate cloud storages to store results of various media related features of the script. This allows you to make sure that you always have sufficent storage space for your customers.
Using cloud storage option also minimizes the latency for your user to access their media results as data could be avaiable via CDN framework of the cloud vendors.
## Connect Cloudflare Account
To be able to use your Cloudflare account, follow these steps to setup integration.
If you don’t have a Cloudflare account, [sign up here](https://www.cloudflare.com/)
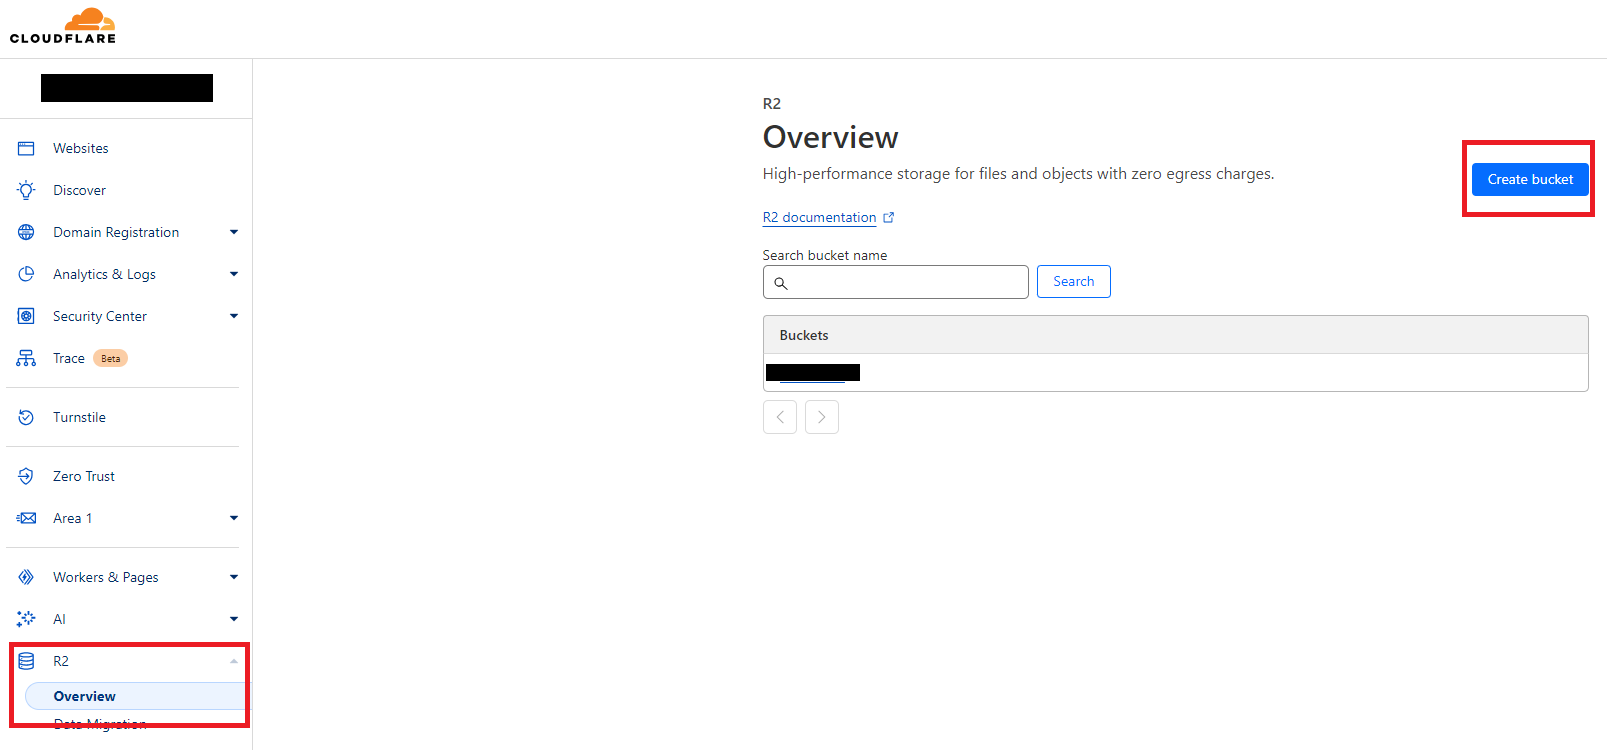
Once you are logged into your Cloudflare Account, Select **CloudFlare R2** from the side menu and click **Create Bucket** button
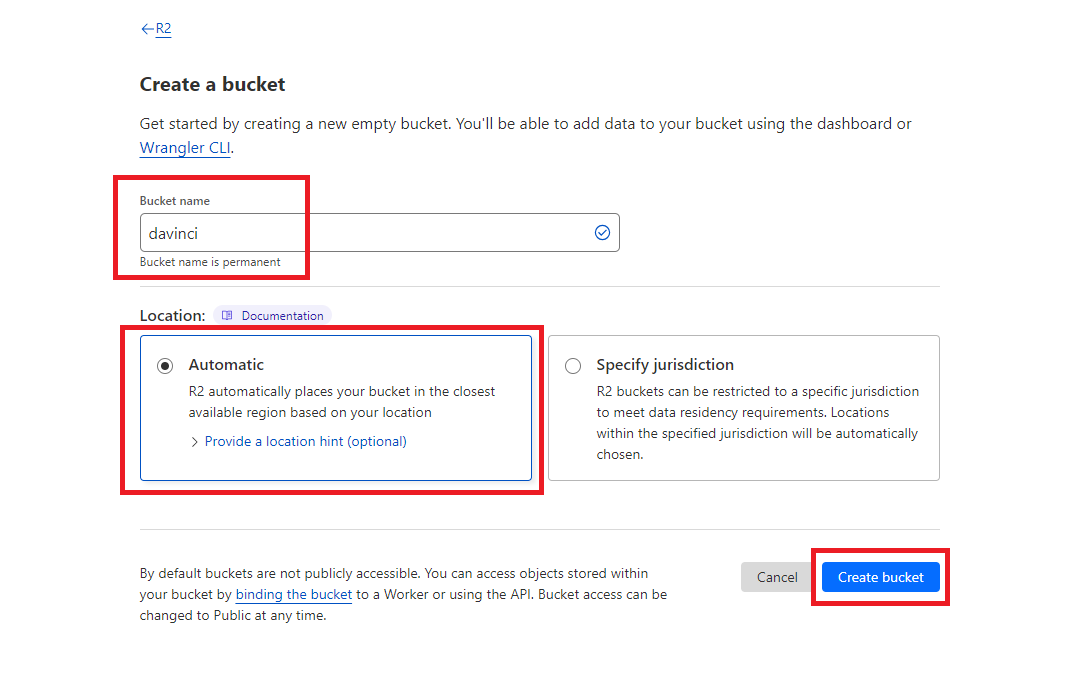
 Specify bucket name as needed and click **Create Bucket**.
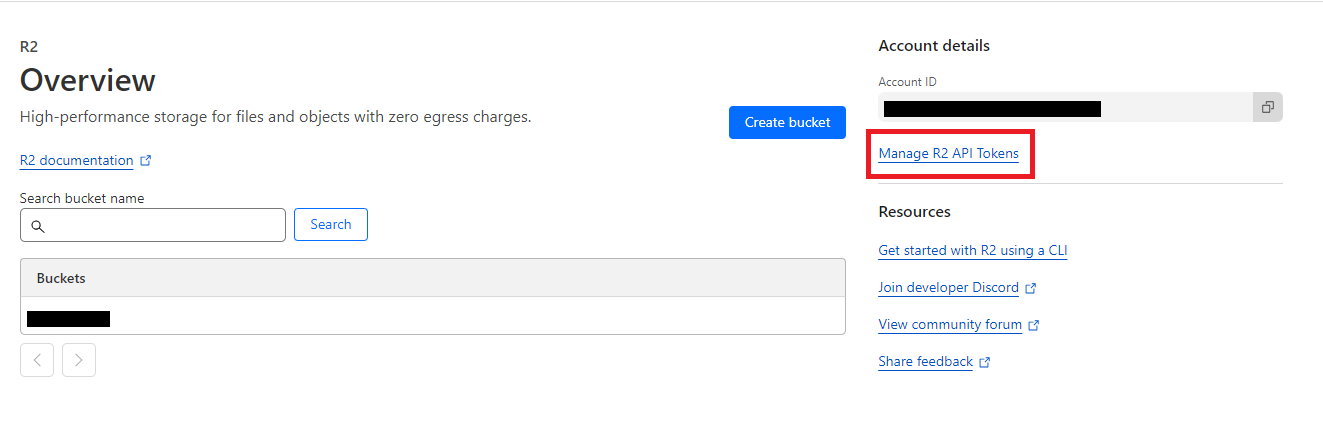
 After your bucket is created, click on the **Manage R2 API Toneks** link.
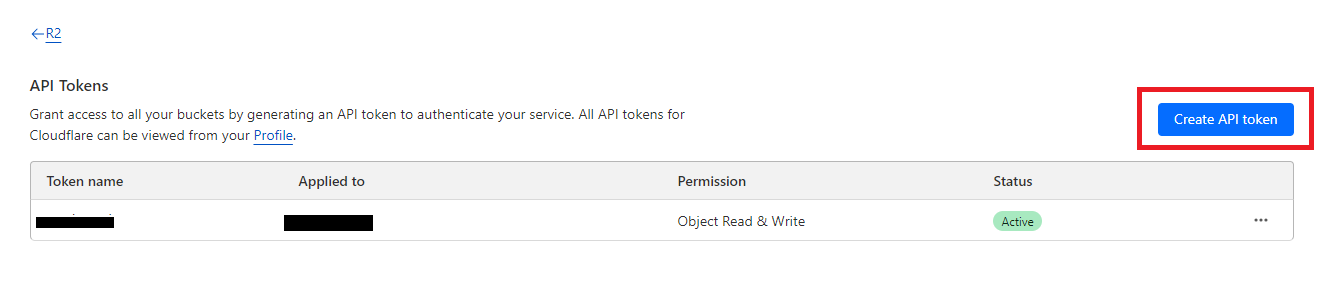
 It will redirect you to your API Tokens page and click on **Create API Token** button.
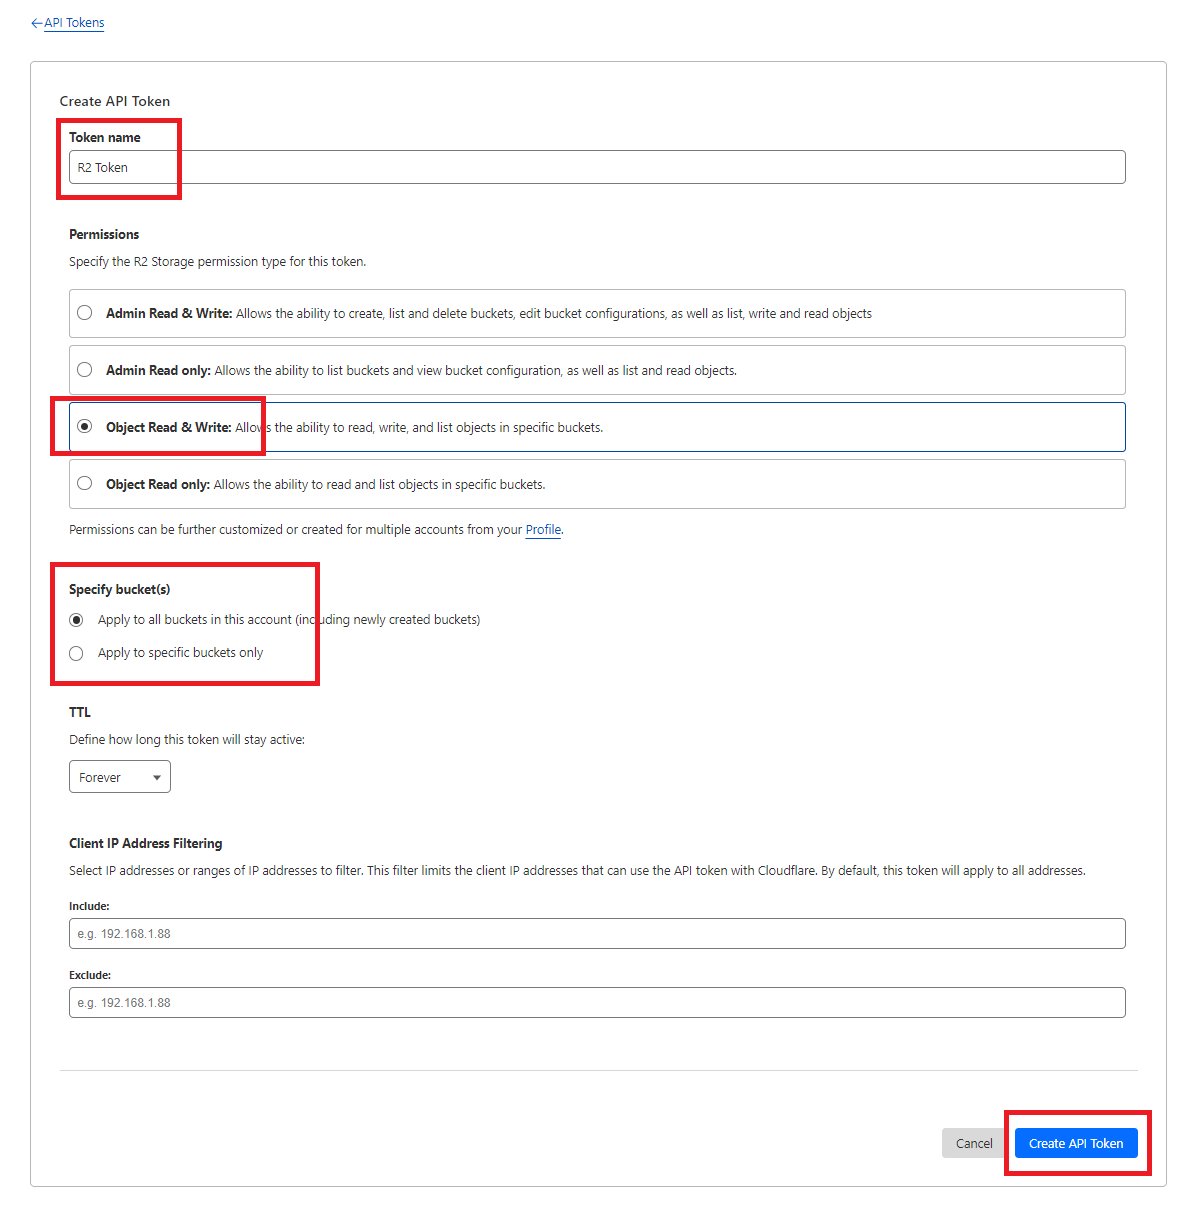
 Provide Token name as needed, in Permission section select **Object Read & Write** and specify if you want this token to be valid of a specific bucket or all your buckets afterwards click on **Create API Token** button.
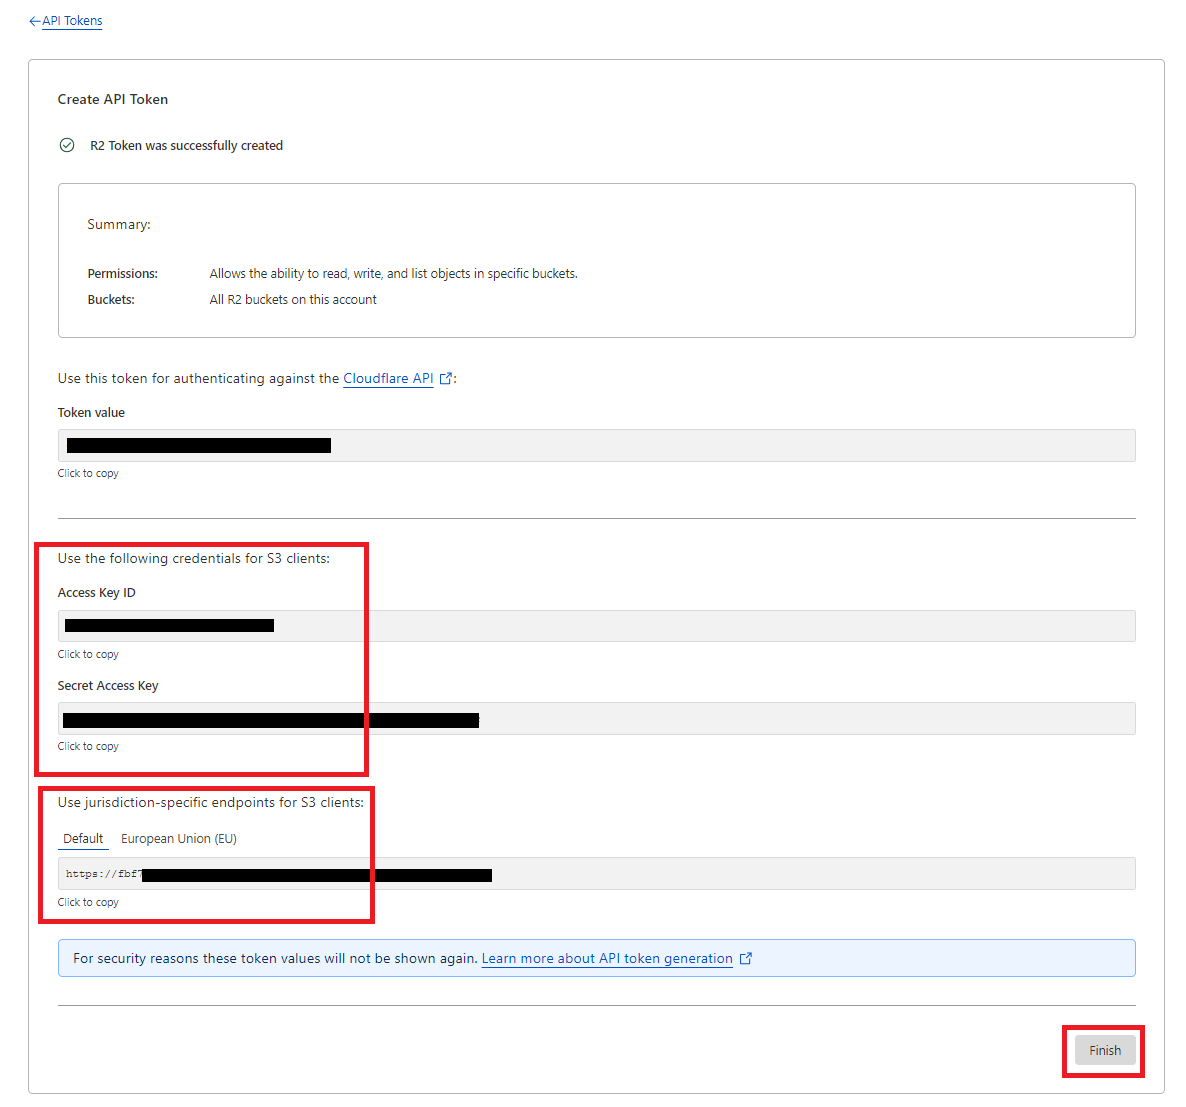
 In the next page copy your **Access Keys ID**, **Secret Access Key** and your **Endpoint URL** and click finish button.
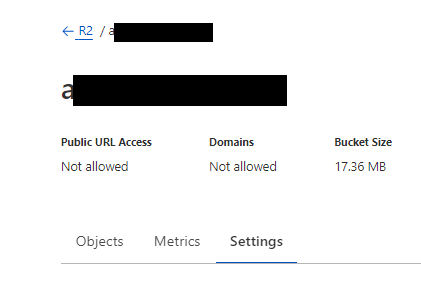
 You will also need to get your **Public URL**, select your bucket and click on **Settings** tab
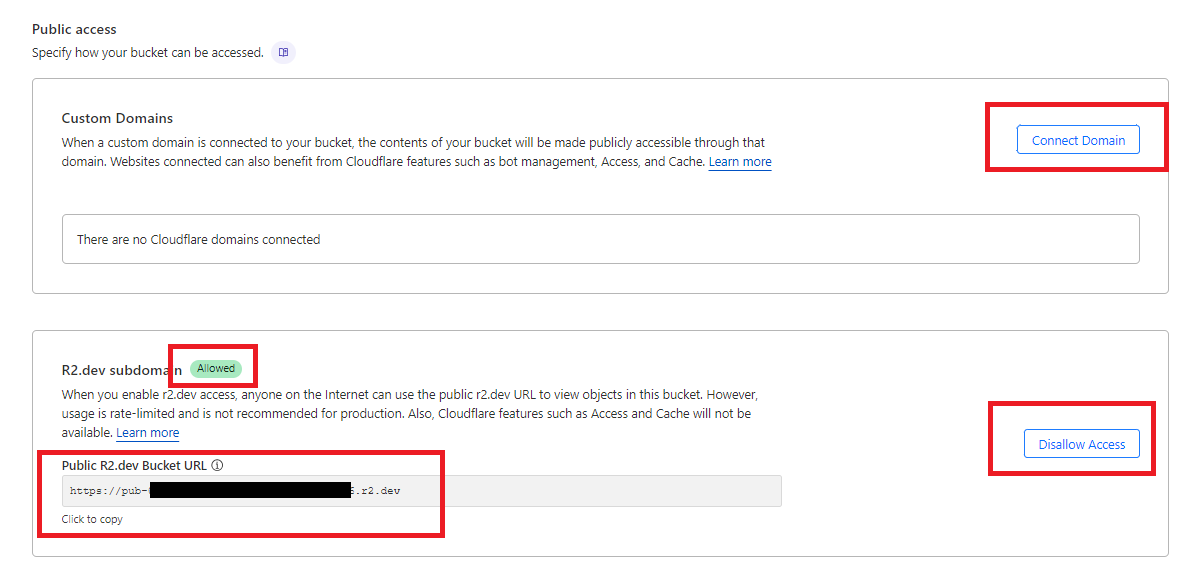
 You have 2 options to get your public url, choose either one that you prefer **Custom Domain** (Requires further configuration, fully up to you to configure) or **Public R2.dev Bucket URL** (You need to set Allow Access and simply copy) q
 Login to Davinci AI using your admin credentials.
In **Admin Panel**, navigate to **AI Settings** -> **AI API Keys** tab.
Click on **Cloudflare** tab there.
Login to Davinci AI using your admin credentials.
In **Admin Panel**, navigate to **AI Settings** -> **AI API Keys** tab.
Click on **Cloudflare** tab there.
 Fill in following required input field:
* **Cloudflare R2 Access Key**
* **Cloudflare R2 Secret Access Key**
* **Cloudflare R2 Bucket Name**
* **Cloudflare R2 Endpoint**
* **Cloudflare R2 Public URL**
Fill in following required input field:
* **Cloudflare R2 Access Key**
* **Cloudflare R2 Secret Access Key**
* **Cloudflare R2 Bucket Name**
* **Cloudflare R2 Endpoint**
* **Cloudflare R2 Public URL**
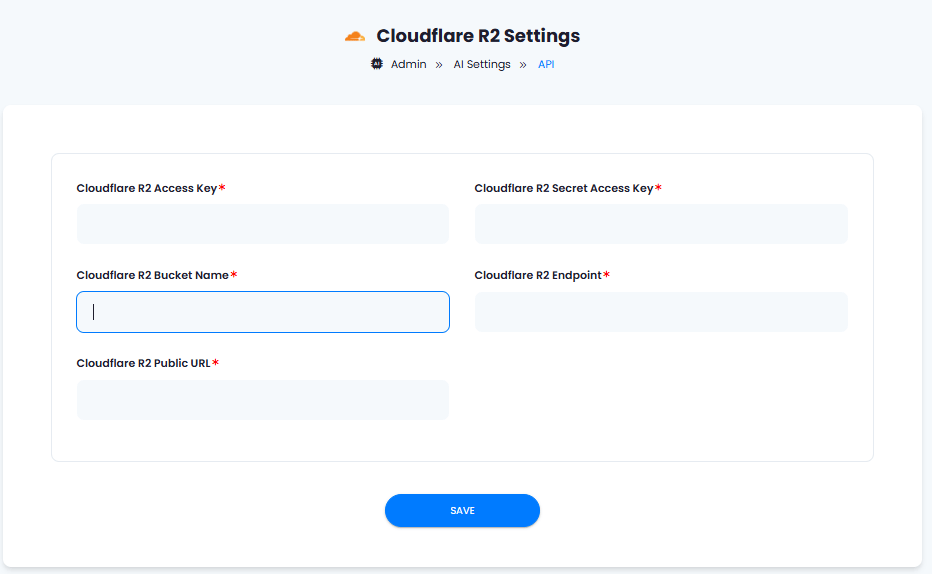 After you are done with configurations, click on **Save** button.
Congratulations! You have successfully comleted the Cloudflare R2 setup process.
## Davinci AI Tools which supports storing results in Cloudflare R2
Following AI tools can be store results in Cloudflare R2 Storage
Support for more AI tools will be added soon, we are actively working on that
1. **AI Voiceover**
2. **AI Images**
3. **AI Speech to Text**
Via AI Settings page in Admin Panel, you can set default cloud storage vendor for each of the supported AI tools individually
After you are done with configurations, click on **Save** button.
Congratulations! You have successfully comleted the Cloudflare R2 setup process.
## Davinci AI Tools which supports storing results in Cloudflare R2
Following AI tools can be store results in Cloudflare R2 Storage
Support for more AI tools will be added soon, we are actively working on that
1. **AI Voiceover**
2. **AI Images**
3. **AI Speech to Text**
Via AI Settings page in Admin Panel, you can set default cloud storage vendor for each of the supported AI tools individually