> ## Documentation Index
> Fetch the complete documentation index at: https://magicads.mintlify.site/llms.txt
> Use this file to discover all available pages before exploring further.
# SaaS Business
> Create your own SaaS Business with MagicAds and start earning millions!
`Extended License` users have free access to `SaaS Business` extension. `Regular License` users can purchase it via the `Marketplace` in the Admin panel.
* Prepaid Plans
* Subscription Plans (Monthly/Yearly/Lifetime)
* Affiliate/Referral System
* 17 Payment Gateways
* Custom Invoice Generation
* Advanced Finance Dashboard
* Paypal
* Stripe
* Razorpay
* Flutterwave
* Paystack
* Braintree
* Mollie
* Midtrans
* Coinbase
* Paddle
* Yookassa
* Mercadopago
* Twocheckout
* Iyzico
* Awdpay
* Bank Transfer (Offline)
* Wallet Payment
## Installation
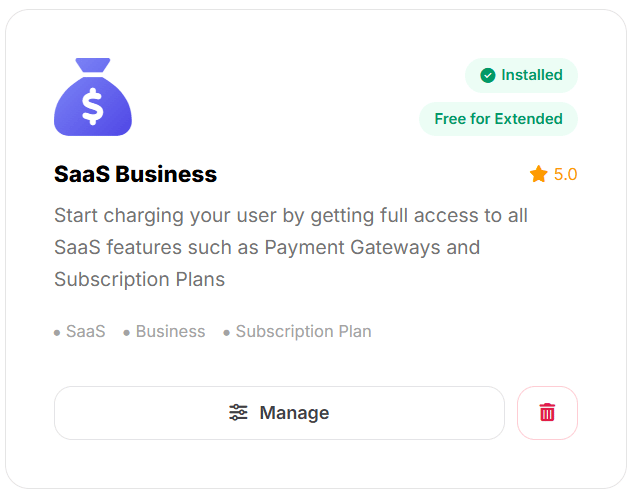
Login as Admin, and go to the **Marketplace**, follow the steps below to **install** and **configure** SaaS Business extension.
Go to the **Plugins** tab in the **Admin Panel** and install **SaaS Business** extension.
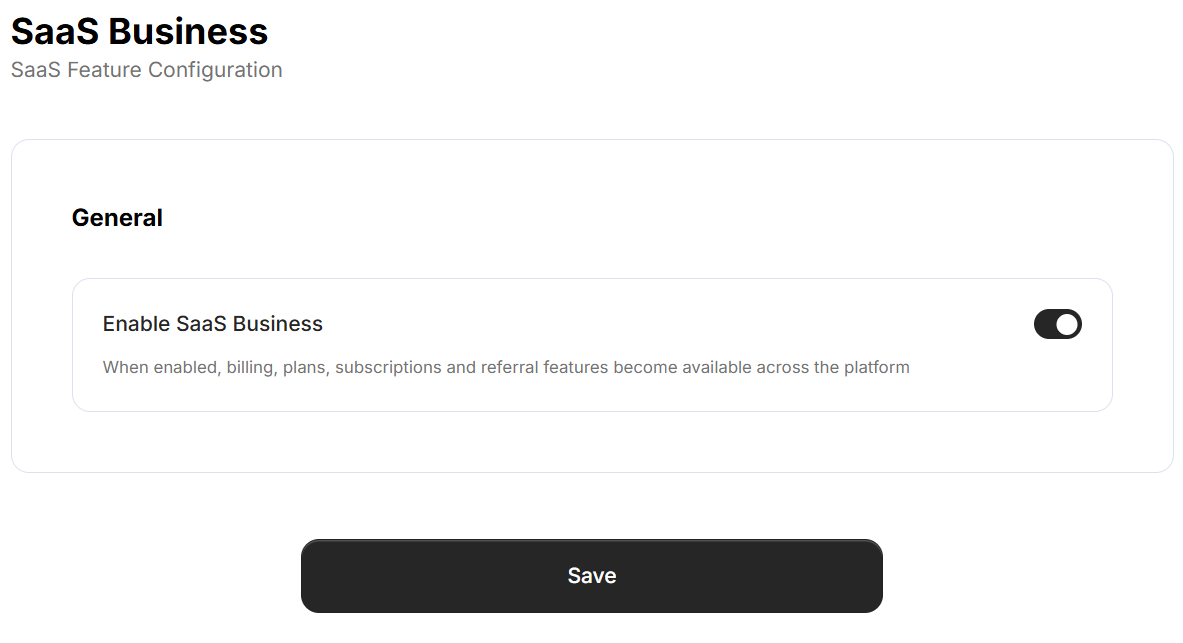
 After installation is completed, go to the **General Settings** page in Admin Panel and click on **Plugins** tab there. Click on **SaaS Business** tab there.
 1. Turn on the checkboxes for **Enable/Disable SaaS feature**\
If you don't turn on this checkbox, SaaS features listed above will not be available to anyone.
2. After you are done with setup click on **Save** button.
1. Turn on the checkboxes for **Enable/Disable SaaS feature**\
If you don't turn on this checkbox, SaaS features listed above will not be available to anyone.
2. After you are done with setup click on **Save** button.
 Next, refresh your browser page, and you will see **Finance** section appear in the **Admin Panel** sidebar menu, from there you can control SaaS features such as configuration of Payment Gateways, creation of Subscription plans.
 You now have completed the SaaS Business extension configuration. Refer to the addtional tabs under **SaaS Features** tab in the menu panel to configure rest of the SaaS features as needed.
Congratulations! You have successfully completed installation of SaaS Business extension for MagicAds.
You now have completed the SaaS Business extension configuration. Refer to the addtional tabs under **SaaS Features** tab in the menu panel to configure rest of the SaaS features as needed.
Congratulations! You have successfully completed installation of SaaS Business extension for MagicAds.