

Before You Start
- Make sure that your hosting server meets the Server Requirements
- Create your database and database user, note down the database name, username and password
Installation Steps
1
Upload Magic Ads Files
- Make sure your domain’s DNS settings are valid and your domain is publicly accessbile already.
- Locate the openaidavinci-xx.zip file in your DavinciMainFiles.zip package and upload this zip file to your hosting server.
- Unzip it in the root directory of your domain.
Some hosting platform hide files starting with ’.’ (hidden files), so make sure that in your settings of your cPanel you enable this option.
2
Start Installation
Now you are ready to run the install script.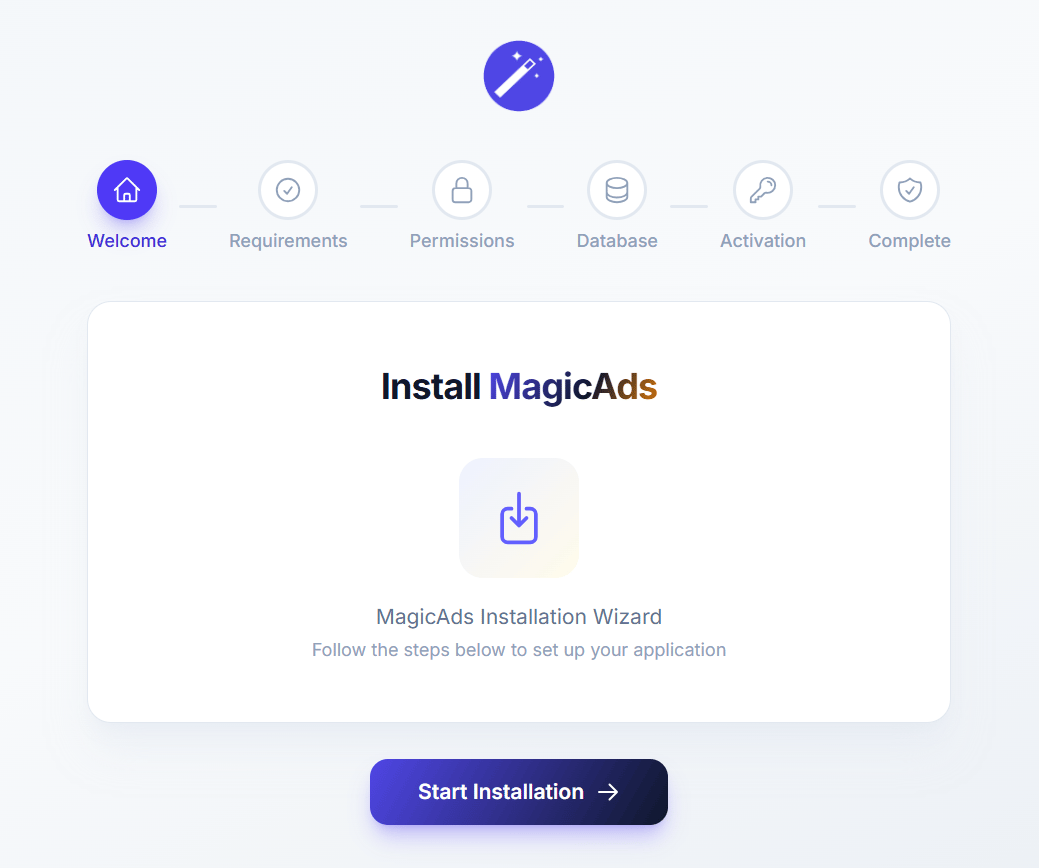
- Type in your browser https://YOUR_DOMAIN_NAME/install and press Enter. This will initiate the Magic Ads installation wizard.
- Click on Start Intallation button.
3
PHP Requirements
Make sure required php packages are installed and enabled on your hosting server. Click Next to continue.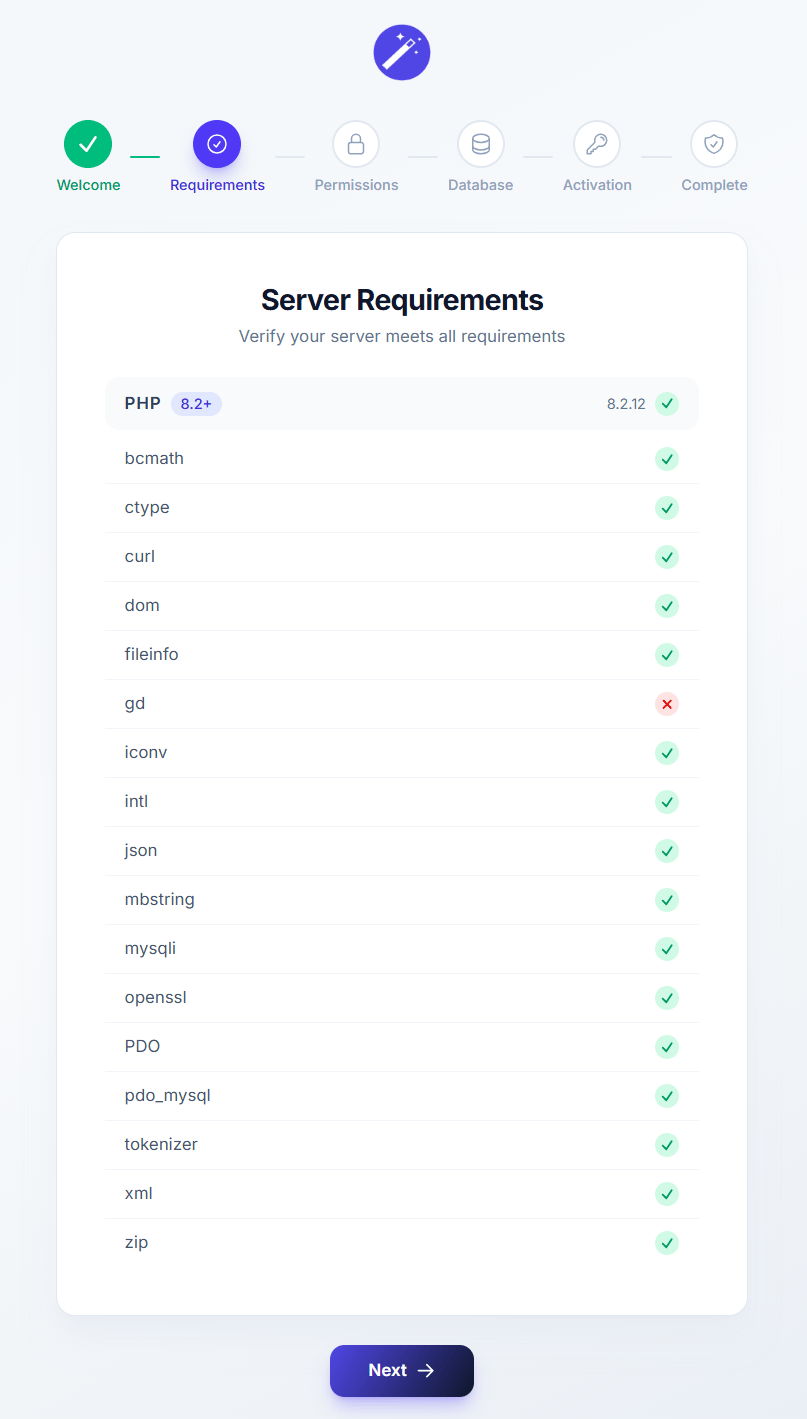
4
Folder Access Permissions
Make sure listed folder are publicly accessbile. Click Next to continue.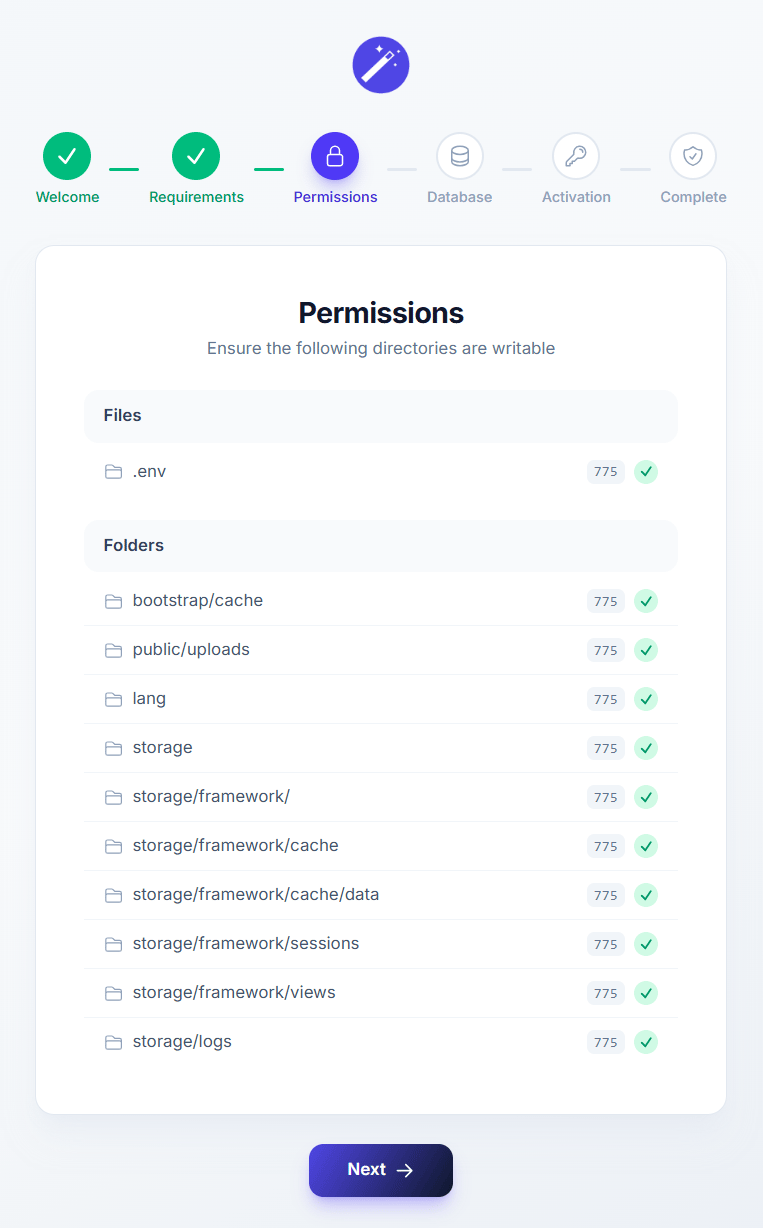
5
Database configuration
For database configuration, enter your newly created database credentials, such as Database Name, Database User that is allowed to access this database and Database User Password.
Unless you use specific server address DNS name or IP address and different port number for your database in your hosting, use localhost for hostname and 3306 for port.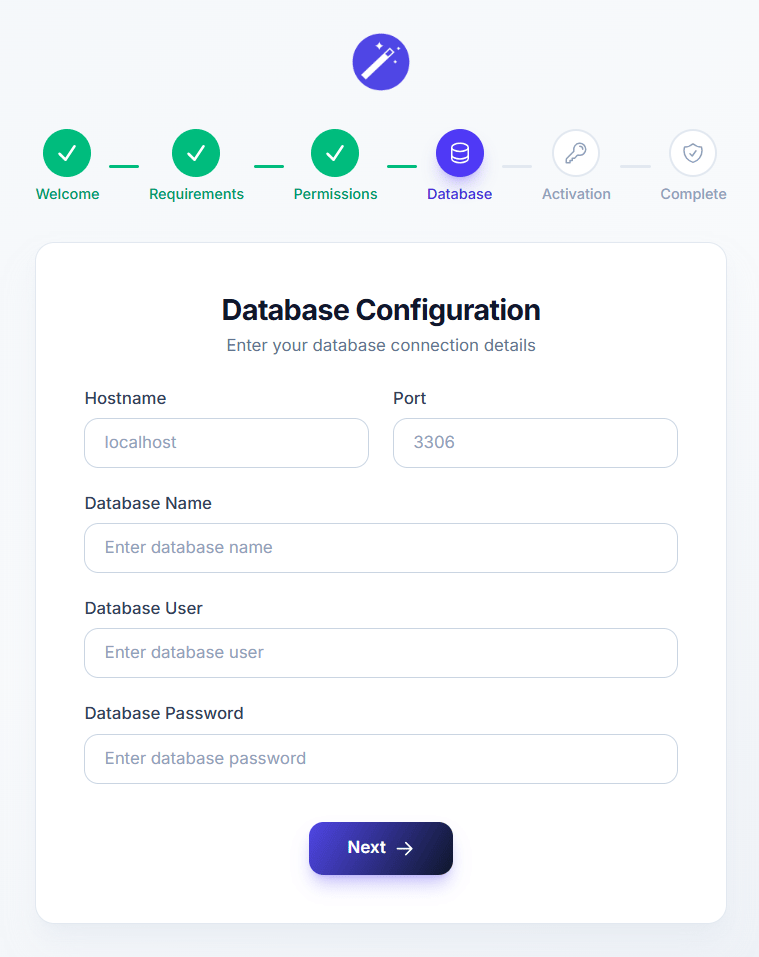
Unless you use specific server address DNS name or IP address and different port number for your database in your hosting, use localhost for hostname and 3306 for port.
6
Activation
On the final step enter your Envato License key for Magic Ads and also your Envato Username. In case if you don’t know where to get your license, you can check this article.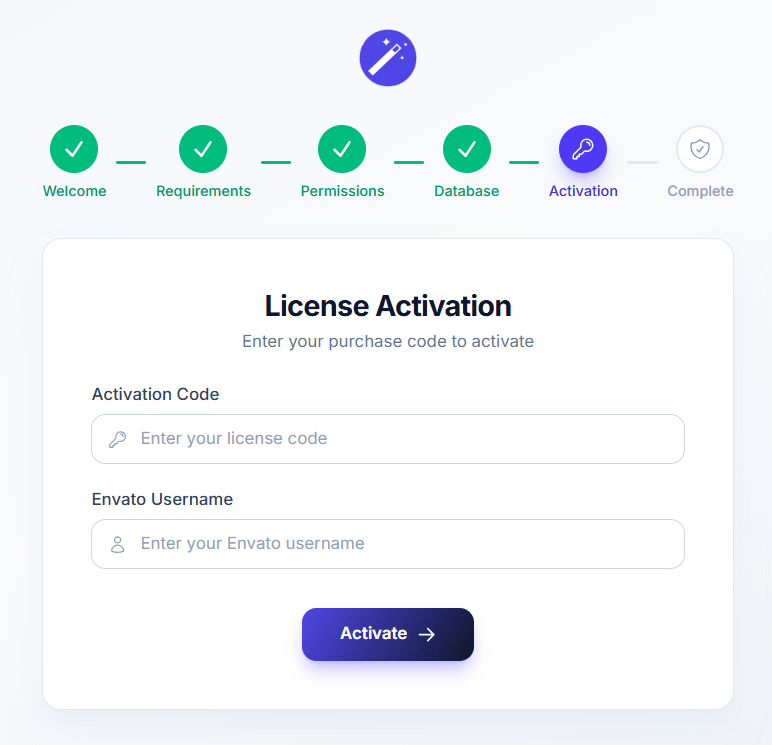
7
Installatoin Completed
If all the required php libraries are turned on in your hosting, installation will finish quickly and you are now fully ready to start.
The default admin user is created during this last step, the login credentials are admin@example.com and default password is admin12345. You can change it after loggin in in your My Accounts page as needed.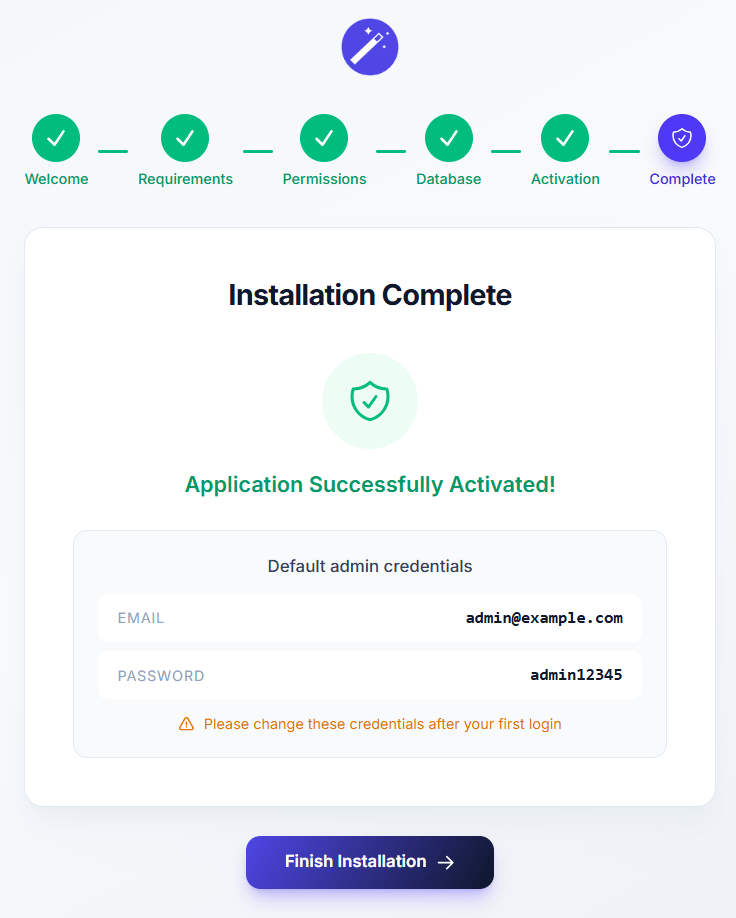
The default admin user is created during this last step, the login credentials are admin@example.com and default password is admin12345. You can change it after loggin in in your My Accounts page as needed.
8
Finish
You have successfully completed the installation of Magic Ads
Next
Installation gets Magic Ads running, but two more setup tasks are required before your platform works end to end. Complete both:1
Configure SMTP (email delivery)
Magic Ads sends transactional emails — account verification, password resets, notifications and invoices — through your own mail server. Until SMTP is configured, none of these emails will be delivered.Follow the SMTP guide to add your mail credentials and send a test email.
2
Configure the CRON job (scheduled tasks)
A single scheduled task drives everything that runs in the background — subscription renewals, queued jobs, cleanups and plugin syncs. Without it, these tasks never run.Follow the CRON guide to add the scheduler entry on your server.
Once SMTP and the CRON job are both in place, your Magic Ads platform is fully operational.
Troubleshooting
If you encounter any issues during the installation process:- Double-check that you’ve followed each step correctly.
- Verify that your server meets all the requirements.
- Ensure all file permissions are set correctly.
- Make sure that your Database credentials are valid and your user has access to the database
- If you’re still stuck after trying the solutions in the troubleshooting guide, don’t hesitate to reach out to our support team.